Composting transforms kitchen scraps and yard waste into nutrient-rich soil amendment, but unpleasant odors can quickly turn this eco-friendly practice into a neighborhood nuisance.
Whether you’re a complete beginner or an experienced composter looking to refine your techniques, understanding the science behind odor-free composting will revolutionize your waste management routine. The good news is that with proper management and a strategic approach, you can maintain a compost pile that smells earthy and fresh rather than rotting and offensive. Let’s dive into the comprehensive checklist that will ensure your composting journey remains pleasant, productive, and completely hassle-free.
🌱 Understanding Why Compost Develops Unpleasant Odors
Before jumping into solutions, it’s essential to understand what causes composting odors in the first place. Compost should smell like rich, damp earth—similar to a forest floor after rain. When foul odors develop, they’re signaling an imbalance in your composting system.
Anaerobic decomposition is the primary culprit behind compost odors. This occurs when beneficial aerobic bacteria lack sufficient oxygen and anaerobic bacteria take over, producing sulfur compounds, ammonia, and other malodorous gases. These conditions typically arise from excessive moisture, compacted materials, or an improper balance of composting ingredients.
Another common cause involves adding inappropriate materials to your compost bin. Meat, dairy products, oils, and pet waste can create stubborn odors and attract unwanted pests. Understanding these fundamental causes empowers you to prevent problems before they start rather than constantly fighting to fix them.
The Carbon-to-Nitrogen Ratio: Your Secret Weapon Against Odors
The foundation of odor-free composting lies in maintaining the proper carbon-to-nitrogen ratio, commonly referred to as the C:N ratio. This balance determines how efficiently microorganisms break down organic matter and whether your compost smells pleasant or putrid.
The ideal C:N ratio for composting ranges between 25:1 and 30:1. Carbon-rich materials (browns) include dried leaves, shredded paper, cardboard, wood chips, and straw. Nitrogen-rich materials (greens) encompass fresh grass clippings, vegetable scraps, coffee grounds, and fresh plant trimmings.
Visual Guide to Browns and Greens
| Brown Materials (Carbon) | Green Materials (Nitrogen) |
|---|---|
| Dried leaves | Vegetable scraps |
| Shredded cardboard | Coffee grounds |
| Straw or hay | Fresh grass clippings |
| Wood chips | Plant trimmings |
| Shredded newspaper | Fruit waste |
| Pine needles | Tea bags |
A simple rule of thumb: aim for approximately three parts brown materials to one part green materials by volume. Too many greens create excessive moisture and nitrogen, leading to ammonia smells. Too many browns slow decomposition significantly, though they won’t typically create offensive odors.
🔄 Aeration: The Oxygen Your Compost Craves
Proper aeration stands as the single most important factor in preventing compost odors. Aerobic bacteria require oxygen to efficiently decompose organic materials without producing foul-smelling byproducts.
Turning your compost regularly introduces fresh oxygen throughout the pile, disrupts anaerobic pockets, and redistributes moisture and nutrients. For active hot composting, turn your pile every three to five days. For slower cold composting, turning once every two to three weeks suffices.
When turning isn’t practical, consider passive aeration methods. Installing perforated PVC pipes vertically through the compost pile creates air channels. Alternatively, layer coarse materials like small twigs or straw throughout the pile to maintain air pockets. These techniques prove especially valuable for stationary bins or for composters with physical limitations.
Signs Your Compost Needs More Air
- Rotten egg or sulfur smell emanating from the pile
- Slimy, wet texture when you dig into the compost
- Black or gray coloration instead of brown
- Attraction of flies or other pests
- Extremely slow decomposition despite adequate moisture
💧 Moisture Management: Finding the Goldilocks Zone
Your compost pile should maintain the consistency of a wrung-out sponge—moist but not dripping. Too much water displaces oxygen, creating anaerobic conditions and unpleasant smells. Too little water halts microbial activity and decomposition.
Test moisture levels using the squeeze test: grab a handful of compost and squeeze firmly. If water drips out, the pile is too wet. If it feels dusty and won’t hold together, it’s too dry. Perfect moisture produces a few drops at most and holds its shape when released.
During rainy seasons, cover your compost with a tarp or lid to prevent waterlogging. In dry climates or summer months, lightly water the pile when adding new materials. Strategic placement also matters—avoid low spots where water collects and choose locations with adequate drainage.
⚡ Temperature Monitoring: The Heat That Kills Odors
A properly functioning compost pile generates significant heat through microbial activity. Hot composting, which reaches temperatures between 130-160°F (54-71°C), not only accelerates decomposition but also kills weed seeds, pathogens, and reduces odor-causing bacteria.
Monitor your pile’s internal temperature using a compost thermometer with a long probe. When temperatures exceed 160°F, turn the pile to prevent killing beneficial microorganisms. When temperatures drop below 100°F despite recent additions and proper moisture, this indicates the pile needs more nitrogen-rich greens or better aeration.
Cold composting operates at lower temperatures and takes longer but can still produce odor-free compost when properly balanced. The key difference is patience—cold piles may take six months to two years versus two to three months for hot composting.
🚫 Materials to Exclude From Your Compost Bin
Preventing odors starts with knowing what should never enter your compost system. Certain materials either decompose poorly, attract pests, or create particularly stubborn smells that proper technique cannot eliminate.
Never Compost These Items:
- Meat, fish, bones, and seafood scraps
- Dairy products including cheese, milk, and yogurt
- Oils, fats, and greasy foods
- Pet waste from cats, dogs, or other carnivores
- Diseased plants or invasive weeds with seed heads
- Treated wood, synthetic materials, or glossy paper
- Coal or charcoal ash
- Citrus peels in large quantities (acidify compost)
These materials either decompose anaerobically, attract rodents and other pests, or introduce harmful pathogens and chemicals into your finished compost. Stick to plant-based kitchen scraps, untreated yard waste, and appropriate carbon materials for trouble-free composting.
🏡 Choosing the Right Composting System for Your Situation
Your composting method significantly impacts odor control. Different systems offer varying levels of aeration, pest protection, and maintenance requirements. Selecting the appropriate system for your space, time commitment, and waste volume prevents many common problems.
Tumbler composters provide excellent aeration through easy rotation and typically include sealed designs that deter pests. They work exceptionally well for small to medium quantities of waste and suit urban or suburban settings where odor concerns are paramount. However, their capacity limitations mean larger properties may need multiple units or alternative solutions.
Traditional open bins or piles offer maximum capacity and accommodate larger volumes but require more management to prevent odors. They suit rural properties with abundant space and neighbors at comfortable distances. Three-bin systems allow for proper aging and rotation, supporting continuous composting operations.
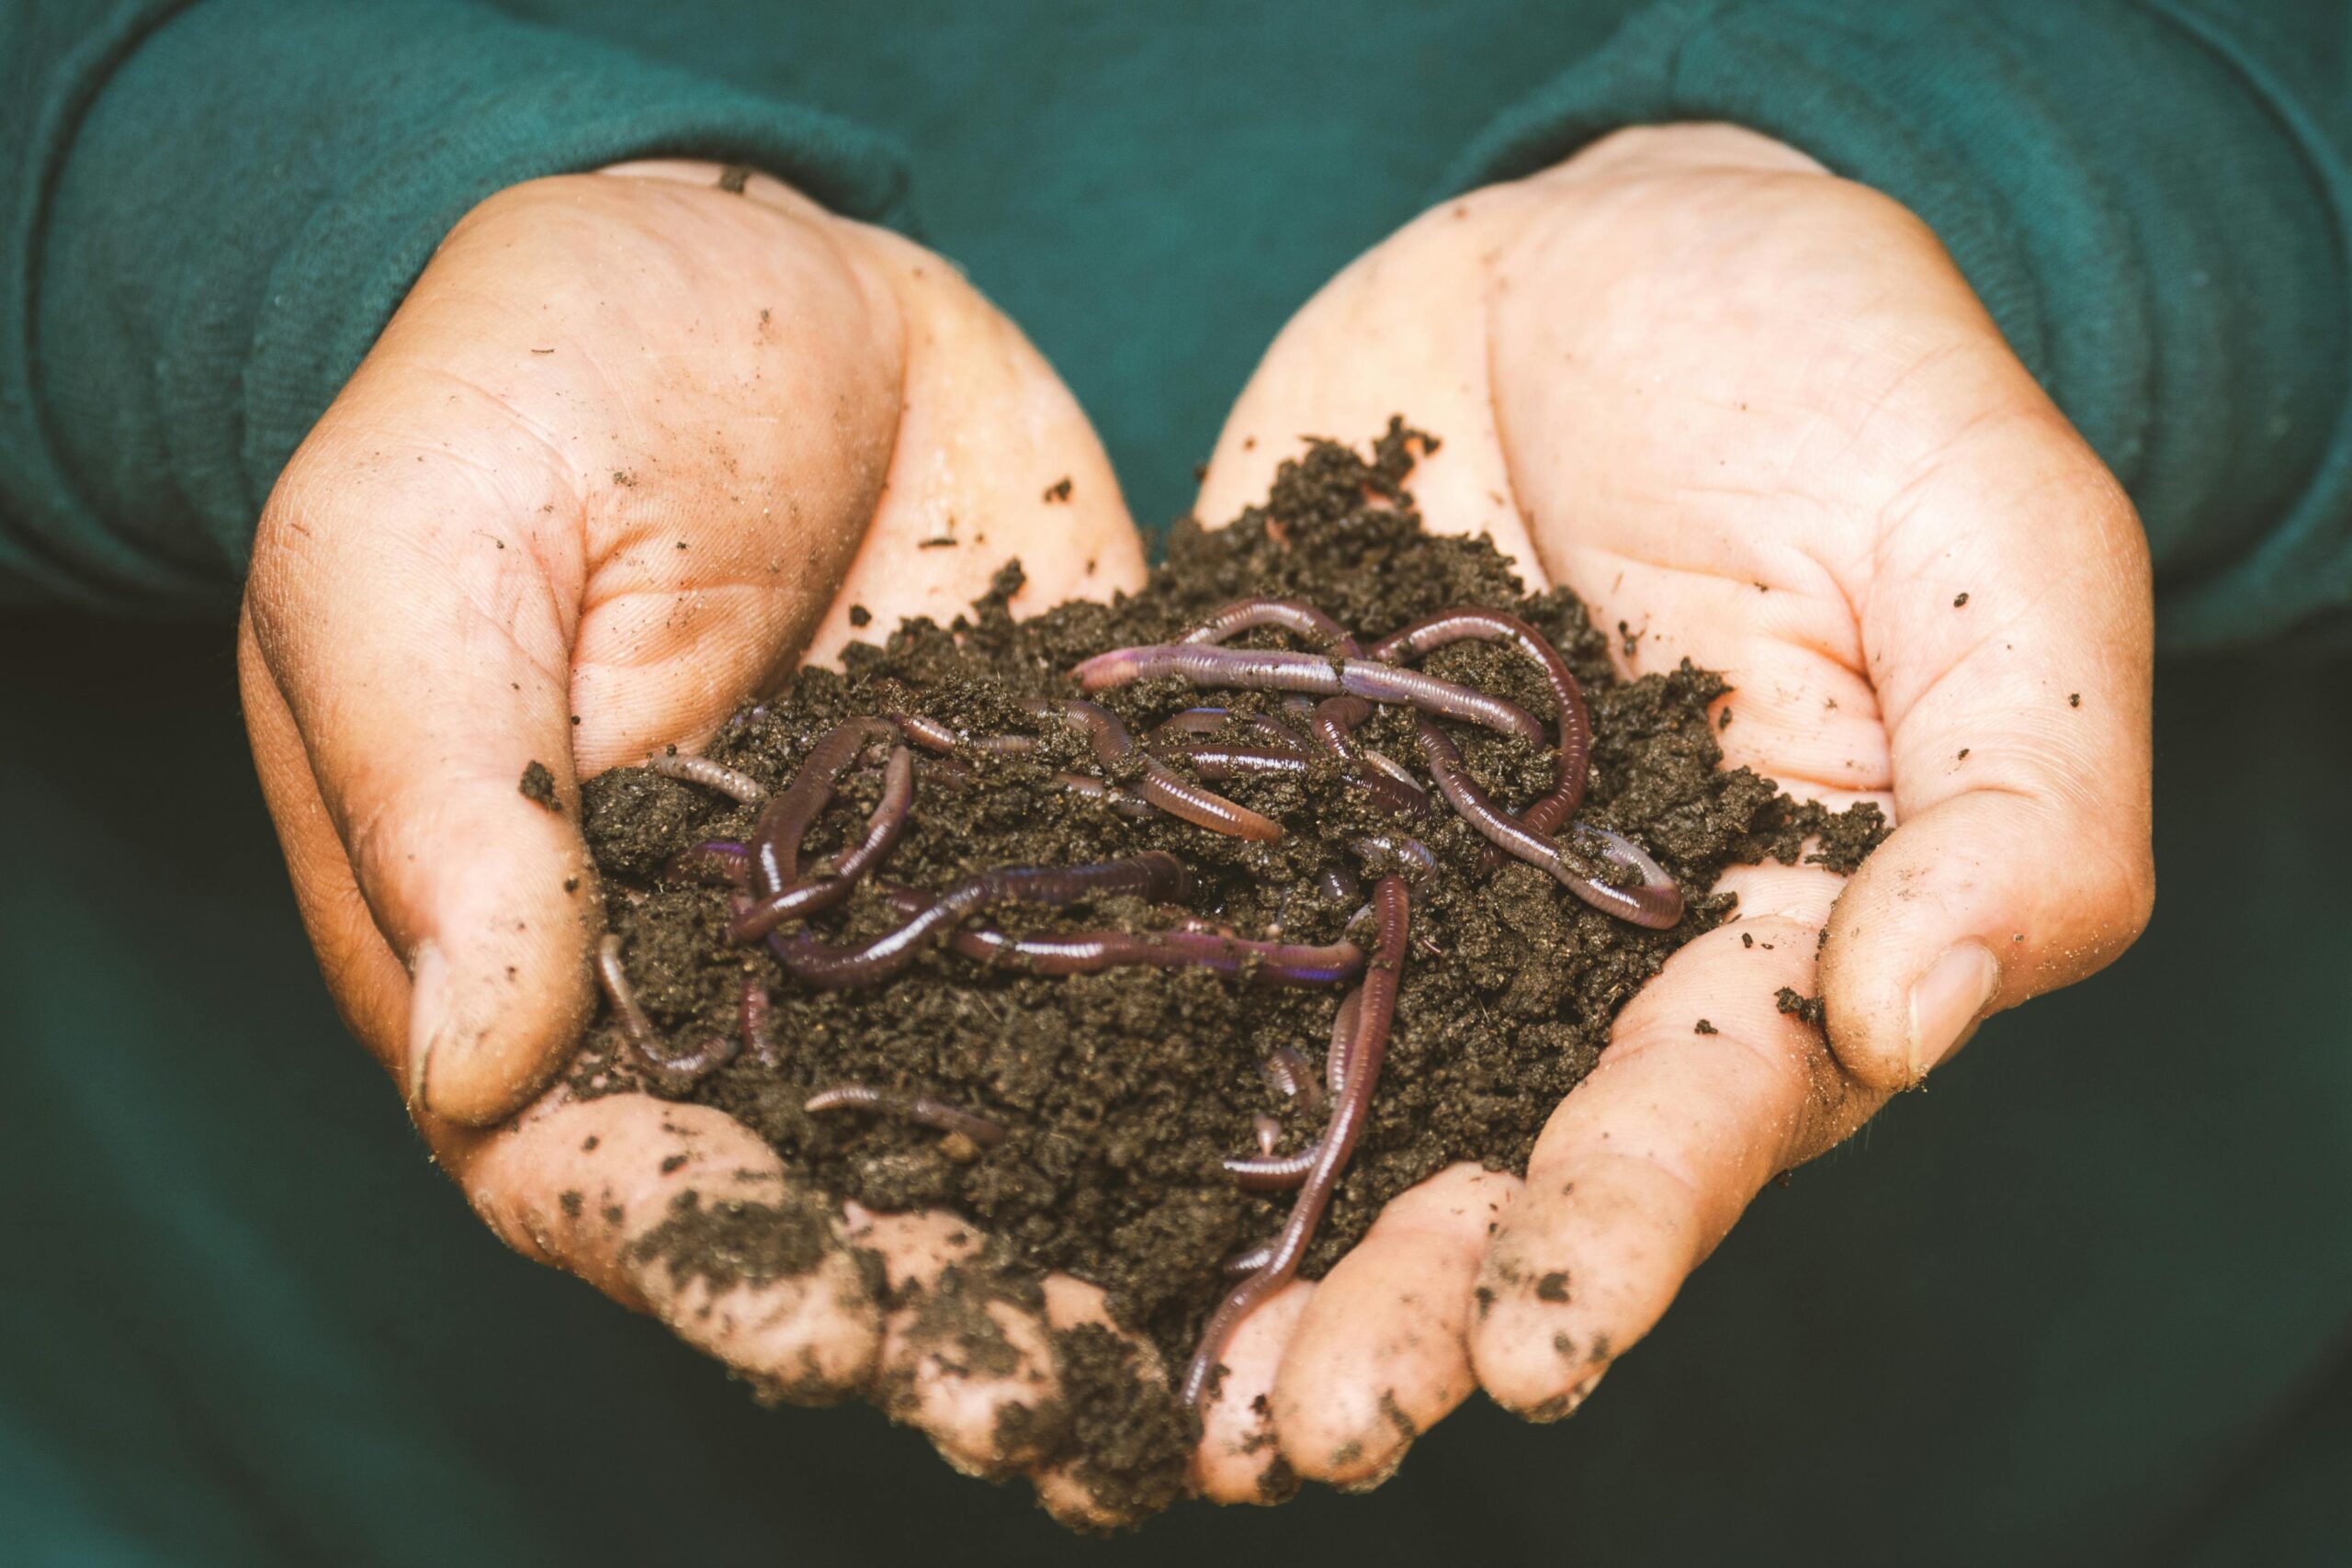
Vermicomposting uses specialized worms to process kitchen scraps indoors or in small outdoor spaces. When properly maintained, worm bins produce virtually no odor and create exceptional compost. This method excels for apartment dwellers or those with limited outdoor space.
🎯 Strategic Layering: Building Your Compost Like a Pro
How you layer materials dramatically affects air circulation, moisture distribution, and decomposition rates. Proper layering technique prevents compaction and anaerobic zones while optimizing microbial activity.
Start with a coarse brown layer at the bottom—twigs, small branches, or wood chips work perfectly. This foundation ensures drainage and allows air to enter from below. Alternate green and brown layers as you add materials, maintaining the general 3:1 ratio. Each green layer should be relatively thin—about two to three inches maximum.
Incorporate a handful of finished compost or garden soil every few layers. This introduces beneficial microorganisms that jump-start decomposition and outcompete odor-causing bacteria. Think of it as sourdough starter for your compost pile.
The Perfect Layering Sequence
- Bottom layer: Coarse twigs or wood chips (4-6 inches)
- Brown layer: Dried leaves or shredded paper (3-4 inches)
- Green layer: Kitchen scraps or grass clippings (2-3 inches)
- Brown layer: More carbon materials (3-4 inches)
- Activator: Finished compost or garden soil (thin sprinkling)
- Repeat green, brown, activator sequence
- Top layer: Always browns to prevent pests and odors
🛠️ Troubleshooting Common Odor Problems
Even experienced composters occasionally encounter odor issues. Quick identification and correction prevent minor problems from becoming major headaches that might discourage your composting efforts entirely.
Ammonia smell indicates excessive nitrogen and usually too much moisture. The solution involves adding substantial quantities of brown materials, turning the pile thoroughly, and potentially covering it to shed excess rain. The ammonia odor should dissipate within days once proper balance is restored.
Rotten egg or sulfur smells signal anaerobic conditions. Turn the pile immediately and thoroughly, breaking up any compacted areas. Add coarse brown materials to improve air circulation. If the pile is waterlogged, consider rebuilding it in a location with better drainage or creating a new pile with the salvageable materials mixed with ample browns.
Vinegar or alcohol smells suggest the pile has become too acidic, often from excessive citrus or fruit waste. Balance the pH by adding wood ash or crushed eggshells in moderation, along with additional brown materials. Turn thoroughly and monitor over the following weeks.
📅 Seasonal Composting Adjustments
Successful year-round composting requires adapting your approach to seasonal conditions. Temperature extremes, precipitation changes, and material availability all influence your composting routine and odor management strategies.
Summer composting accelerates decomposition but increases moisture evaporation and odor potential. Turn piles more frequently, monitor moisture closely, and consider shading bins in extremely hot climates. Fruit flies become problematic during warm months—always bury fresh scraps under browns and maintain proper moisture levels to discourage them.
Winter slows or halts decomposition in cold climates, but proper fall preparation ensures spring success. Build a larger pile in autumn as insulation helps maintain microbial activity. Continue adding materials throughout winter—they’ll begin decomposing rapidly when temperatures rise. Winter actually presents fewer odor challenges since cold temperatures suppress bacterial activity and neighbor windows remain closed.
✨ Odor-Absorbing Additives: Natural Deodorizers That Actually Work
Several natural amendments help control odors while improving your finished compost. These additives work by adjusting pH, absorbing excess moisture, or introducing beneficial microorganisms.
Wood ash from untreated wood reduces acidity and provides potassium, but use sparingly as excessive amounts create alkalinity problems. Approximately one cup per cubic foot of compost suffices. Crushed eggshells offer similar pH-balancing benefits without the risks of over-application.
Garden lime neutralizes odors in particularly acidic piles but should be used judiciously—about one to two cups per cubic yard maximum. Excessive lime creates alkaline conditions that slow decomposition and volatilize nitrogen.
Bokashi bran contains beneficial microorganisms that ferment organic matter and suppress odor-causing bacteria. While originally designed for separate bokashi composting systems, sprinkling small amounts in traditional compost can enhance decomposition and odor control.
🌟 Maintaining Your Odor-Free Routine Long-Term
Consistency proves more valuable than perfection in composting. Establishing simple routines prevents problems while making composting a sustainable habit rather than an occasional project that repeatedly fails and frustrates.
Keep a dedicated container in your kitchen for collecting scraps—one with a tight-fitting lid to prevent indoor odors. Empty it every two to three days, burying the contents in your outdoor compost under several inches of brown materials. This simple practice prevents both indoor and outdoor odor problems.
Maintain a brown materials stockpile near your compost bin. Store dried leaves in bags, keep a box of shredded paper handy, or collect wood chips in a separate bin. Having browns readily available ensures you can immediately cover fresh additions and adjust ratios without delay.
Schedule regular maintenance sessions—perhaps weekly pile checks and monthly deep turns. During these sessions, assess moisture, turn materials, add browns or greens as needed, and monitor temperature. Fifteen minutes of weekly attention prevents hours of problem-solving later.
The Ultimate Odor-Free Composting Checklist 📋
Use this comprehensive checklist to ensure your composting routine stays fresh, efficient, and completely odor-free. Print it, save it to your phone, or post it near your compost bin for quick reference.
- Maintain 3:1 ratio of brown to green materials by volume
- Turn pile every 3-5 days for hot composting or every 2-3 weeks for cold composting
- Keep moisture at wrung-out sponge consistency
- Bury fresh scraps under 4-6 inches of brown materials
- Monitor internal temperature weekly
- Add only approved compostable materials
- Layer coarse materials for passive aeration
- Always top pile with brown materials
- Check for and break up compacted areas
- Adjust drainage or location if waterlogging occurs
- Keep a brown materials stockpile accessible
- Empty kitchen scrap container every 2-3 days
- Chop or shred large pieces for faster decomposition
- Add finished compost or soil as microbial activator
- Cover pile during excessive rain
🌿 Your Path to Composting Success Starts Today
Mastering odor-free composting isn’t about achieving perfection from day one—it’s about understanding principles, implementing consistent practices, and adjusting based on observation. Your compost pile is a living system that responds to your management decisions, and with the strategies outlined in this guide, you possess everything needed to maintain a productive, pleasant composting operation.
Start by assessing your current situation honestly. Which areas need improvement? Perhaps your C:N ratio is off, or maybe turning frequency needs adjustment. Pick one or two changes to implement immediately rather than attempting to overhaul everything simultaneously. Small, consistent improvements compound into remarkable results.
Remember that composting connects you to natural cycles while dramatically reducing waste sent to landfills. Every banana peel and grass clipping you compost instead of trashing represents resources returned to the earth rather than buried in plastic bags for decades. This simple practice offers environmental benefits that extend far beyond your property lines.
Your journey toward odor-free composting transforms what might seem like a messy chore into a rewarding routine that produces valuable soil amendment while minimizing environmental impact. Armed with this ultimate checklist and understanding of composting fundamentals, you’re fully equipped to create rich, earthy compost that smells like forest soil rather than landfill waste. Your garden will thank you, your neighbors will appreciate the absence of odors, and you’ll enjoy the satisfaction of closing the loop on organic waste right in your own backyard.