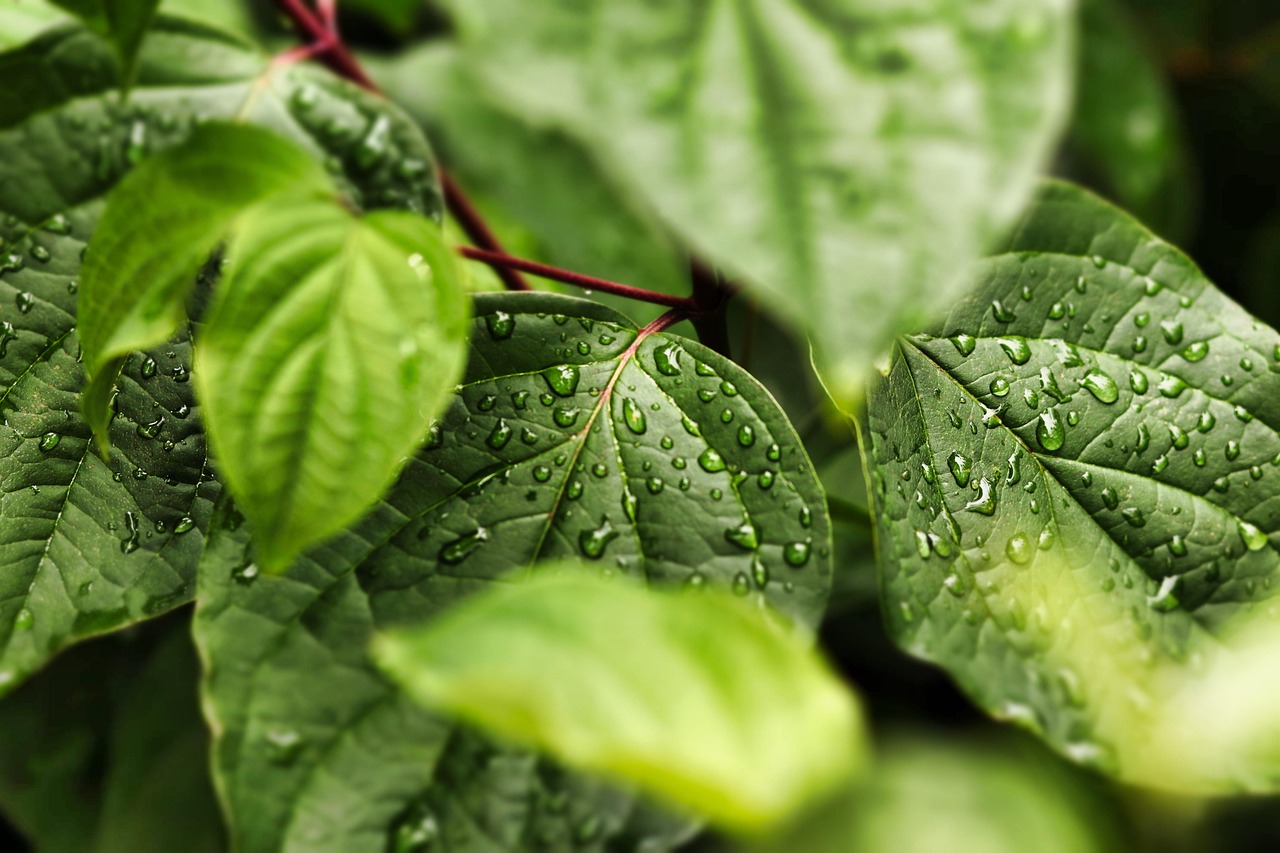
Composting transforms kitchen scraps and yard waste into nutrient-rich soil, but unpleasant odors can quickly turn this eco-friendly practice into a neighborhood nuisance. The good news? Mastering odor-free composting is entirely achievable with the right techniques and understanding of the science behind decomposition.
Many beginners abandon composting because of smell issues, yet these problems almost always stem from preventable mistakes in bin management and material balance. Whether you’re composting in a small urban apartment or managing a large backyard pile, the principles of fresh, odor-free composting remain remarkably consistent. This comprehensive guide will walk you through every essential step to keep your compost smelling earthy and pleasant while producing the highest quality soil amendment for your thriving garden.
Understanding Why Compost Smells Bad 🔍
Before tackling odor prevention, it’s crucial to understand what causes compost to smell unpleasant in the first place. The difference between good composting and bad composting lies in the type of decomposition occurring in your bin.
Healthy compost undergoes aerobic decomposition, where oxygen-loving bacteria break down organic matter efficiently. This process produces minimal odor—typically a pleasant, earthy smell similar to forest soil. When compost stinks, it’s usually undergoing anaerobic decomposition, where bacteria that thrive without oxygen create foul-smelling compounds like ammonia, hydrogen sulfide, and various organic acids.
The most common culprits behind smelly compost include excess moisture creating waterlogged conditions, too much nitrogen-rich “green” material without enough carbon-rich “brown” material, compacted piles lacking air circulation, and the addition of inappropriate materials like meat, dairy, or oils that attract pests and create putrid odors.
The Golden Ratio: Balancing Greens and Browns
The foundation of odor-free composting rests on maintaining the proper balance between nitrogen-rich greens and carbon-rich browns. This balance isn’t just about preventing smells—it’s about creating optimal conditions for beneficial microorganisms to thrive.
Green materials are typically moist and include fresh grass clippings, vegetable scraps, coffee grounds, and fresh plant trimmings. These materials provide nitrogen that fuels microbial activity. Brown materials are dry and include dried leaves, straw, shredded newspaper, cardboard, and wood chips. Browns provide carbon that gives structure to your compost and absorbs excess moisture.
Achieving the Perfect Mix
The ideal carbon-to-nitrogen ratio for composting ranges from 25:1 to 30:1, though you don’t need a chemistry degree to achieve this. A practical rule of thumb is mixing roughly three parts brown material to one part green material by volume. If your compost starts smelling like ammonia, it has too much nitrogen—add more browns. If decomposition seems sluggish and nothing’s happening, add more greens to jumpstart microbial activity.
Visual cues help tremendously. Your compost pile should look like a lasagna with alternating layers of different materials rather than clumps of single ingredients. Each time you add kitchen scraps, cover them with a layer of brown material. This simple habit prevents odors before they start and keeps fruit flies at bay.
Moisture Management: Not Too Wet, Not Too Dry 💧
Proper moisture levels are absolutely critical for odor-free composting. Your compost should feel like a wrung-out sponge—moist but not dripping. Too much water drives out oxygen, creating those anaerobic conditions that produce terrible smells. Too little water, and decomposition grinds to a halt.
To test moisture levels, grab a handful of compost and squeeze it. A few drops of water should appear, but it shouldn’t stream out. If water pours out, your pile is too wet. If nothing happens and the material feels dry and dusty, you need to add moisture.
Correcting Moisture Problems
For overly wet compost, the solution is straightforward: add dry brown materials like shredded newspaper, dry leaves, or cardboard. Turn the pile thoroughly to incorporate these materials and expose wet areas to air. If your compost bin has a lid, leave it slightly ajar on dry days to allow excess moisture to evaporate.
For dry compost, water it while turning, adding moisture gradually until you reach that ideal sponge-like consistency. During hot summer months, you may need to water your outdoor compost regularly. Consider covering your pile with a tarp or lid during heavy rainfall to prevent it from becoming waterlogged.
Aeration: Oxygen is Your Friend 🌬️
Adequate airflow throughout your compost pile is essential for maintaining aerobic decomposition and preventing odors. Turning or aerating your compost accomplishes several goals simultaneously: it introduces fresh oxygen, redistributes moisture, moves partially decomposed material from the edges to the center, and breaks up compacted areas.
For outdoor piles or tumbling composters, turn your compost at least once every one to two weeks. More frequent turning accelerates decomposition and further reduces odor risks. Use a pitchfork or compost aerating tool to mix materials from the outside of the pile toward the center where decomposition is most active.
Aeration Strategies for Different Systems
Traditional compost bins benefit from built-in aeration through perforated sides or ventilation holes. When building or selecting a bin, ensure it has adequate airflow. Some composters add a layer of twigs or small branches at the bottom to create air channels and prevent the pile from becoming completely compacted.
For indoor or apartment composting using smaller containers, aeration becomes even more critical. Drill multiple holes in the sides and bottom of your container, and stir the contents every few days. Bokashi composting and vermicomposting systems designed for indoor use have built-in features that manage odors through different mechanisms than traditional aerobic composting.
What to Compost (and What to Avoid) ✅
Adding the wrong materials causes most serious odor problems in home composting systems. Knowing what belongs in your compost bin and what doesn’t will save you countless headaches.
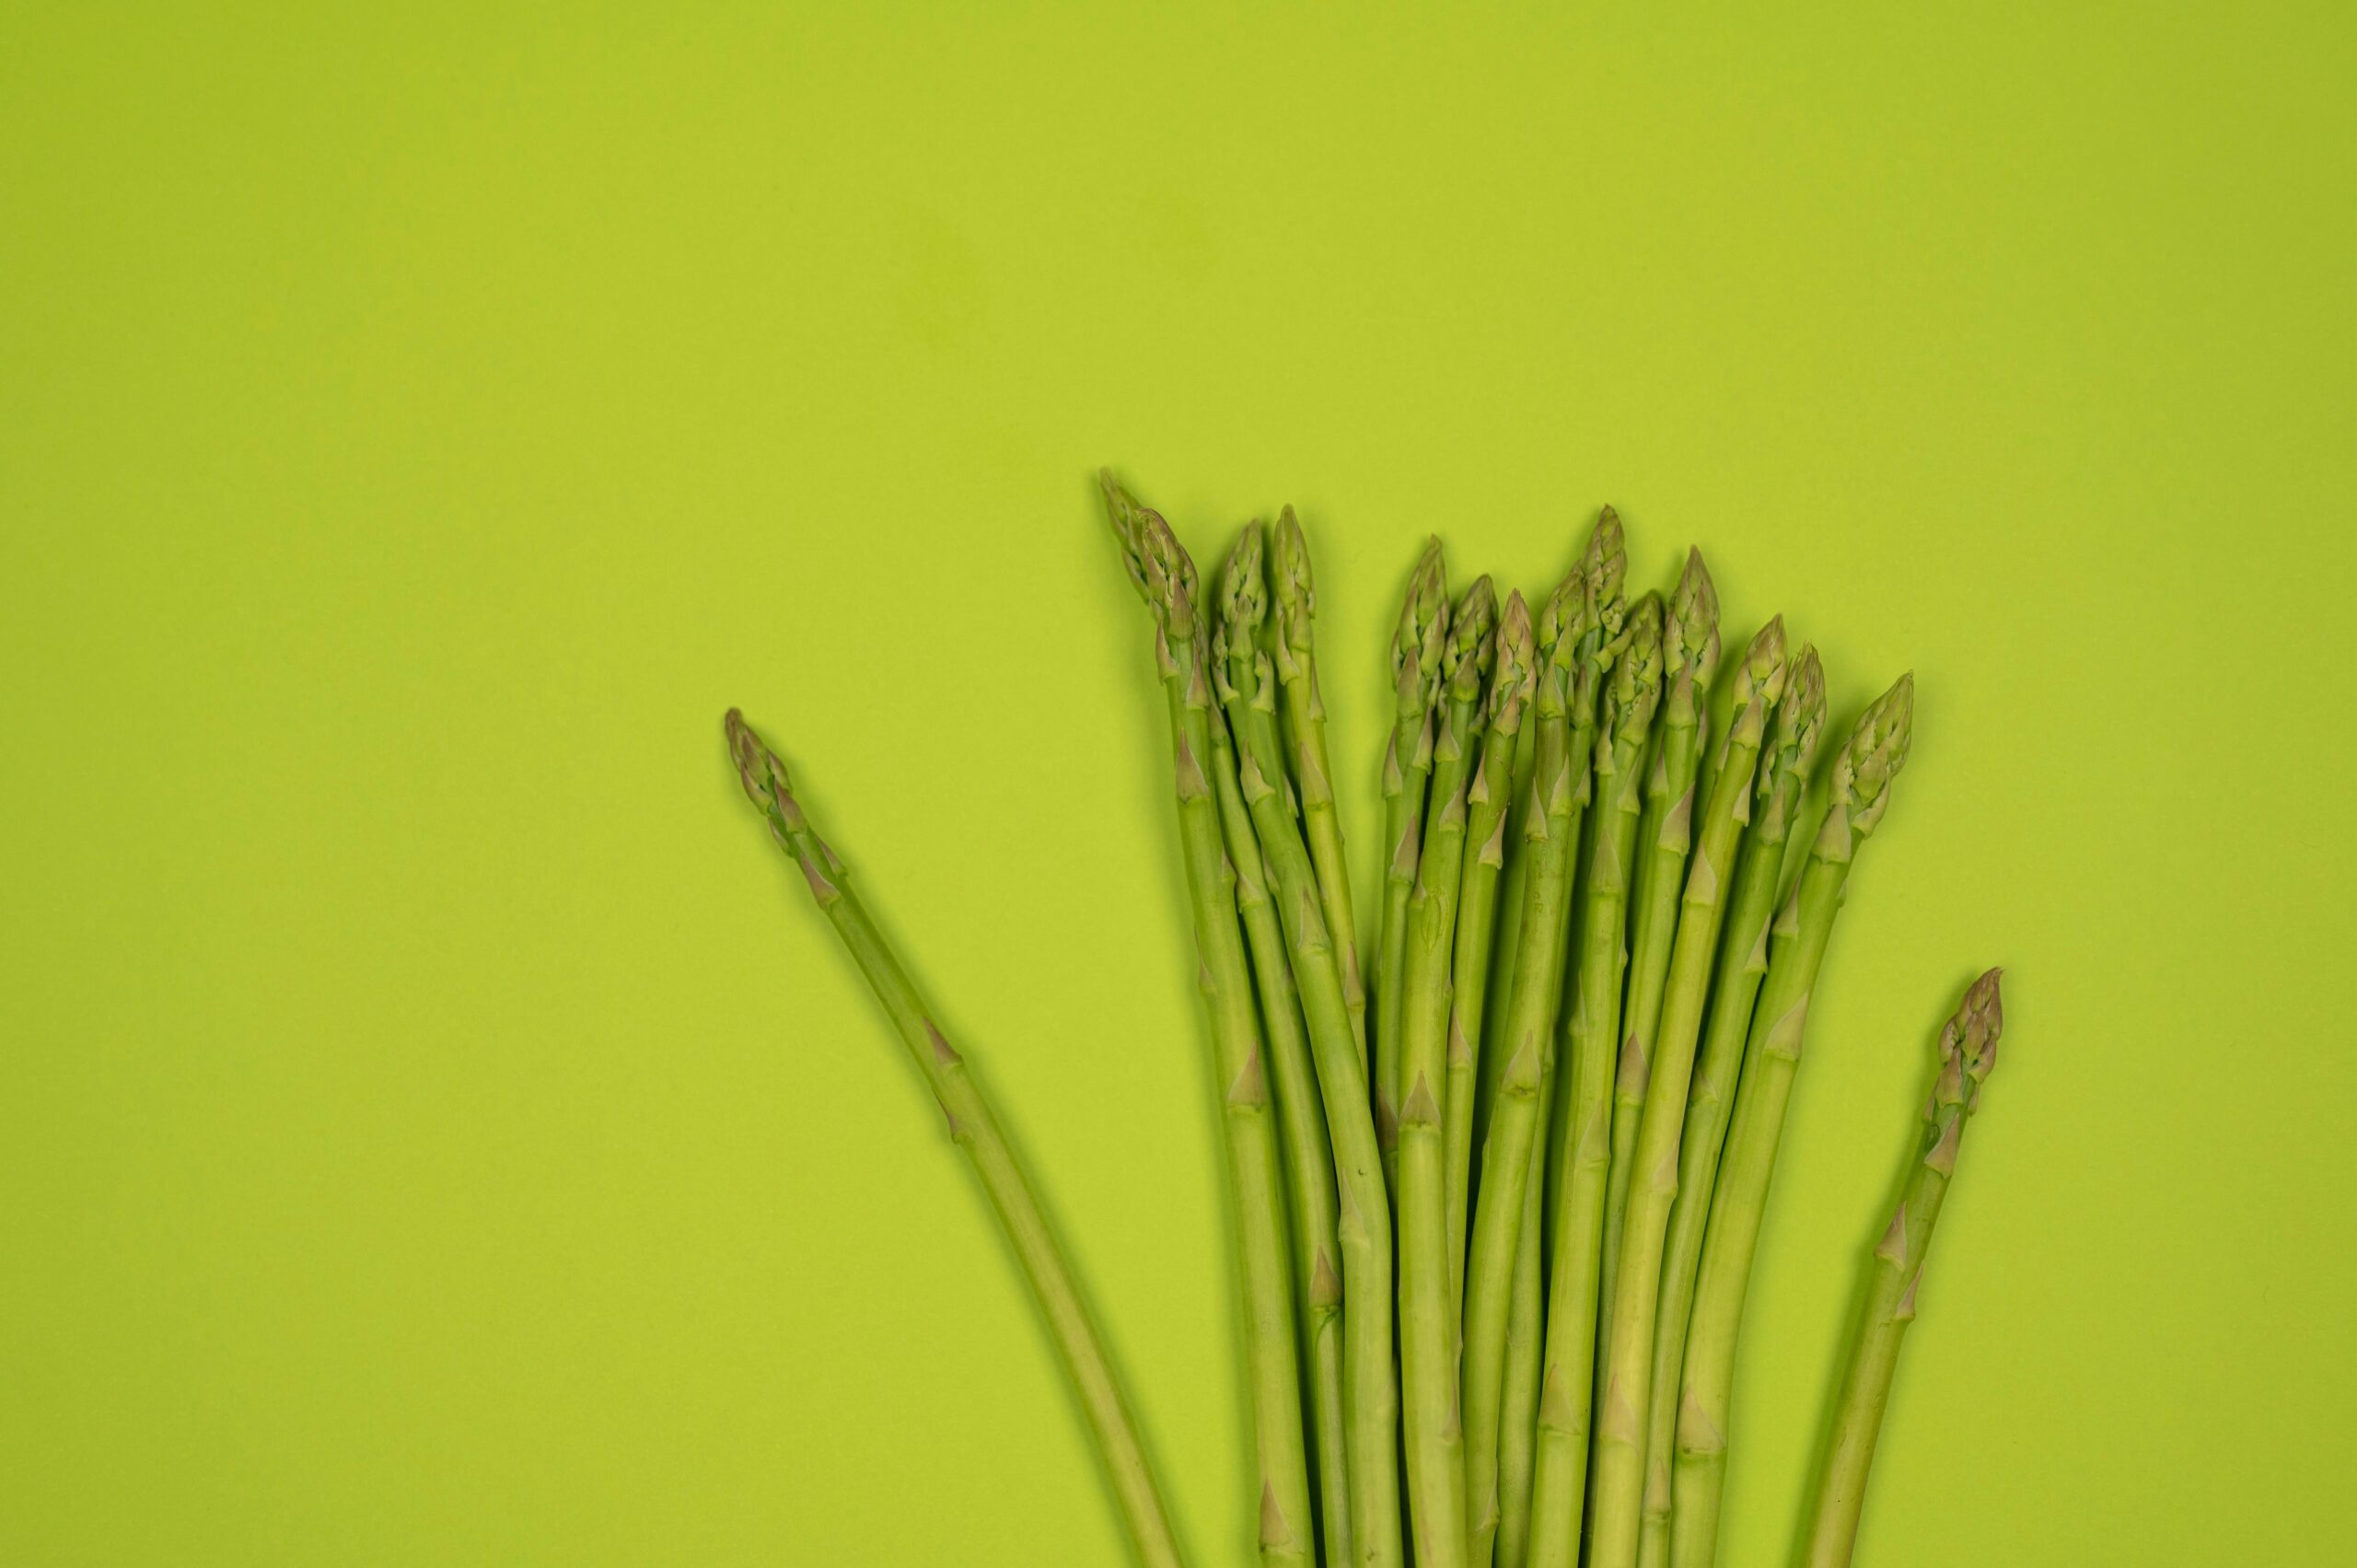
Safe green materials include vegetable and fruit scraps (except citrus in large quantities), coffee grounds and filters, tea bags, crushed eggshells, fresh grass clippings, and fresh plant trimmings. Safe brown materials include dried leaves, straw, shredded newspaper and cardboard (non-glossy), wood chips, sawdust from untreated wood, and paper towels.
Items That Don’t Belong in Your Compost
Never compost meat, fish, bones, dairy products, fats, oils, or grease. These materials decompose slowly, attract pests, and create extremely unpleasant odors. Pet waste from carnivorous animals should be avoided due to potential pathogens. Diseased plants, weeds with seed heads, and plants treated with herbicides can contaminate your finished compost.
Coal or charcoal ash, glossy or colored paper, and synthetic materials obviously don’t belong in compost. While some composters successfully process citrus peels and onions, these can be problematic in large quantities—use them sparingly or avoid them if you notice issues.
Temperature Matters: Hot vs. Cold Composting 🌡️
The temperature of your compost pile significantly impacts both decomposition speed and odor control. Hot composting involves maintaining temperatures between 135-160°F (57-71°C) through careful management and sufficient pile size. This method kills weed seeds and pathogens while producing finished compost in just a few months.
Cold composting requires less effort but takes longer—typically six months to a year. This passive approach works perfectly well for odor control if you maintain proper ratios and don’t overload your bin with materials. The key is consistency rather than speed.
Monitoring Compost Temperature
If you’re pursuing hot composting, invest in a compost thermometer to monitor your pile’s core temperature. When temperatures drop, it’s time to turn the pile and potentially add more nitrogen-rich greens to restart the heating process. The heat generated during active composting naturally suppresses odor-causing bacteria.
For those practicing cold composting, don’t worry about temperature monitoring. Simply maintain good practices with material ratios, moisture, and occasional turning. Your compost will still break down effectively and remain odor-free without the intensive management hot composting requires.
Size and Location Considerations 📍
The size and placement of your compost system affect odor management. A pile that’s too small won’t generate sufficient heat for hot composting and may dry out quickly. A pile that’s too large becomes difficult to turn and may develop anaerobic pockets. The ideal size for hot composting is at least three feet cubed, while smaller systems work fine for cold composting with proper management.
Location matters for both practical and neighborly reasons. Place your compost bin on level, well-drained ground where excess water won’t accumulate underneath. Partial shade helps prevent excessive drying in hot climates, while good air circulation around the bin promotes healthy decomposition.
Being a Considerate Neighbor
Even when managed properly, position your compost bin considerately. Maintain reasonable distance from property lines and neighboring living spaces. If you’re composting in a small urban yard, communicate with neighbors about your composting practices. A well-maintained, odor-free system often becomes a point of pride that inspires others rather than causing complaints.
Troubleshooting Common Odor Problems 🔧
Despite your best efforts, occasional odor issues may arise. Recognizing specific smells helps you diagnose and correct problems quickly.
An ammonia smell indicates too much nitrogen. Add carbon-rich brown materials immediately and turn the pile thoroughly. A rotten egg or sulfur smell signals anaerobic conditions from excessive moisture or compaction. Turn the pile, add dry browns, and ensure adequate drainage and aeration.
Quick Fixes for Emergency Situations
If your compost suddenly develops a strong odor before you can properly balance it, sprinkle a layer of finished compost, garden soil, or wood ash on top as a temporary odor-absorbing barrier. Baking soda also neutralizes odors in a pinch, though it shouldn’t become a regular solution since it doesn’t address underlying problems.
For kitchen compost collectors that develop odors between trips to your outdoor bin, store them in the refrigerator or freezer to slow decomposition. Alternatively, use a countertop compost bin with a charcoal filter designed specifically for odor control.
Seasonal Composting Adjustments 🍂
Your composting routine needs seasonal adjustments to maintain optimal conditions year-round. Summer heat accelerates decomposition but also dries out piles quickly. Monitor moisture levels closely and water as needed. Increased turning frequency helps prevent anaerobic pockets that develop more quickly in warm weather.
Winter composting slows down significantly in cold climates. Decomposition continues but at a glacial pace. Continue adding materials throughout winter, maintaining your green-to-brown ratio. Come spring, your accumulated materials will decompose rapidly as temperatures rise. Insulating your bin with straw bales or moving it to a sheltered location helps maintain some microbial activity during freezing weather.
Advanced Techniques for Odor Prevention 🎯
Once you’ve mastered the basics, several advanced strategies can further enhance odor control. Biochar, a form of charcoal created through pyrolysis, absorbs odors and provides habitat for beneficial microorganisms. Adding small amounts to your compost improves overall quality while controlling smells.
Some composters maintain a “browns reservoir” near their compost bin—a dedicated container of dry leaves, shredded paper, or sawdust. This makes it convenient to immediately cover every addition of greens, maintaining proper ratios effortlessly.
Composting Activators and Inoculants
Commercial compost activators containing beneficial bacteria and fungi can jumpstart decomposition and minimize odor risks, especially in new piles. However, these products aren’t necessary if you’re following proper techniques. A shovelful of healthy garden soil or finished compost accomplishes the same goal for free by introducing beneficial microorganisms.
When Your Compost is Ready to Use 🌱
Finished compost should smell pleasant and earthy, never foul or sour. It will be dark, crumbly, and uniform in texture with no recognizable pieces of original materials except perhaps woody stems or sticks. This transformation typically takes three to six months for hot composting and six to twelve months for cold composting.
Using unfinished compost can rob nitrogen from your soil as decomposition completes, potentially harming plants. If you’re unsure whether your compost is ready, perform a simple test: seal a sample in a plastic bag for a few days. If it develops an unpleasant smell, it needs more time. Truly finished compost maintains its earthy fragrance even when stored in airtight conditions.
Small-Space and Indoor Composting Solutions 🏢
Urban gardeners and apartment dwellers can absolutely compost without creating odor problems. Vermicomposting using red wiggler worms works excellently indoors when properly maintained. The worms consume kitchen scraps before they can decompose anaerobically, and a properly functioning worm bin produces virtually no smell.
Bokashi composting ferments organic matter in airtight containers using specialized bran inoculated with beneficial microorganisms. This method handles materials that traditional composting can’t process, including meat and dairy, without creating offensive odors. The fermented material requires burial in soil or addition to a traditional compost pile to complete decomposition.
Creating a Sustainable Composting Routine 🔄
Consistency transforms composting from a chore into a seamless part of your gardening routine. Establish simple habits that prevent odor problems before they start. Keep your browns reservoir filled and easily accessible. Set a regular schedule for turning your pile, perhaps every other weekend. Make it a habit to cover every addition of greens immediately with browns.
Track what works in your specific situation. Climate, materials available, and composting system all influence your optimal approach. What works perfectly in humid Florida may need adjustment in arid Arizona. Pay attention to your compost’s feedback—its appearance, smell, and moisture level tell you exactly what it needs.
Celebrating Your Composting Success! 🎉
Mastering odor-free composting connects you more deeply with natural cycles while providing tangible benefits for your garden. Each batch of finished compost represents diverted waste, reduced reliance on chemical fertilizers, and improved soil health. Your vegetables will taste better, your flowers will bloom more vibrantly, and your entire garden ecosystem will thrive.
The techniques outlined here transform composting from a potentially smelly ordeal into an odor-free, rewarding practice. By maintaining proper balance between greens and browns, managing moisture levels, ensuring adequate aeration, and adding appropriate materials, you’ll produce high-quality compost that smells pleasant throughout the process. Your neighbors will never complain, and you might even inspire them to start their own composting journey.
Remember that occasional setbacks are normal and fixable. Every experienced composter has dealt with a smelly pile at some point. The difference is knowing how to quickly diagnose and correct the problem. With practice, maintaining perfect compost becomes intuitive, requiring minimal time and effort while yielding maximum benefits for your garden and the environment. Start implementing these strategies today, and you’ll soon wonder why composting ever seemed complicated or unpleasant!